Blog
How to Set Up Your Rachio 3 Smart Sprinkler Controller: A Step-by-Step Guide
The Rachio 3 Smart Sprinkler Controller is a revolutionary irrigation system that allows you to take control of your lawn and garden’s watering needs right from your smartphone. With advanced features like weather-based scheduling, zone-specific watering, and remote control, the Rachio 3 can save you water, time, and money. If you’re wondering how to set up your Rachio 3, this guide will walk you through the entire process, from unboxing to app configuration.
Whether you’re new to smart home devices or a seasoned pro, setting up your Rachio 3 will be quick and easy. Let’s get started!
What You’ll Need to Set Up the Rachio 3
Before you begin the setup process, make sure you have the following:
- Rachio 3 Controller – The smart sprinkler unit.
- Wi-Fi Connection – A stable 2.4GHz Wi-Fi connection is required for setup.
- Smartphone or Tablet – The Rachio app (available for both iOS and Android) will be needed to control your sprinkler system.
- Your Sprinkler System’s Wiring – You’ll need to identify the existing wiring connected to your old controller (if applicable). Don’t worry, the Rachio 3 is designed to be compatible with most existing sprinkler systems.
- Power Source – Ensure there’s a power outlet nearby to plug in your Rachio 3 unit.
Step 1: Unbox and Inspect Your Rachio 3
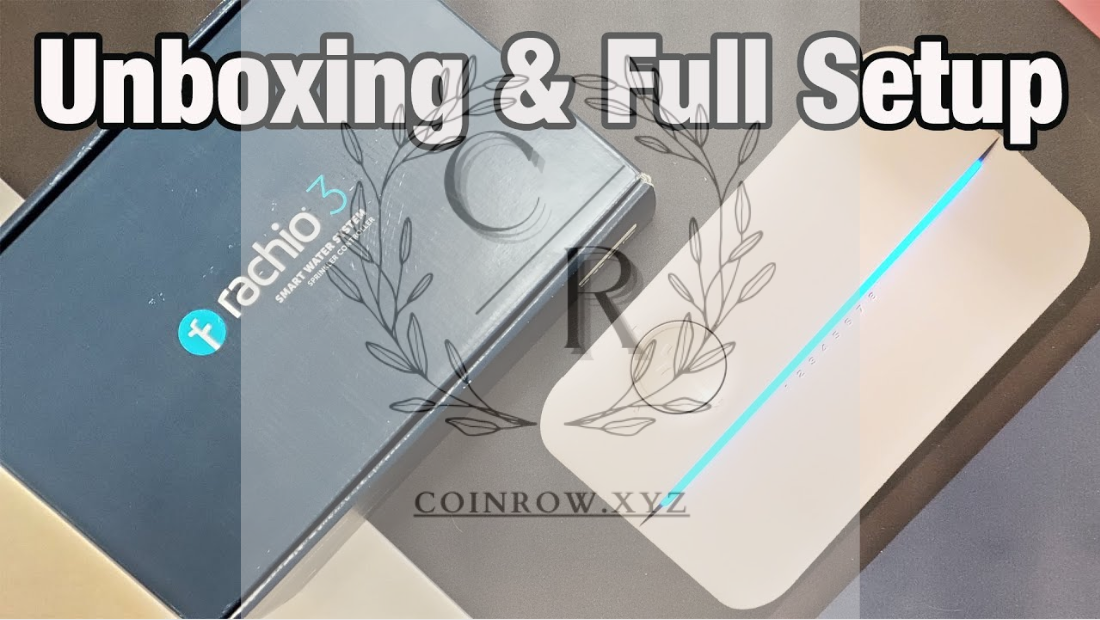
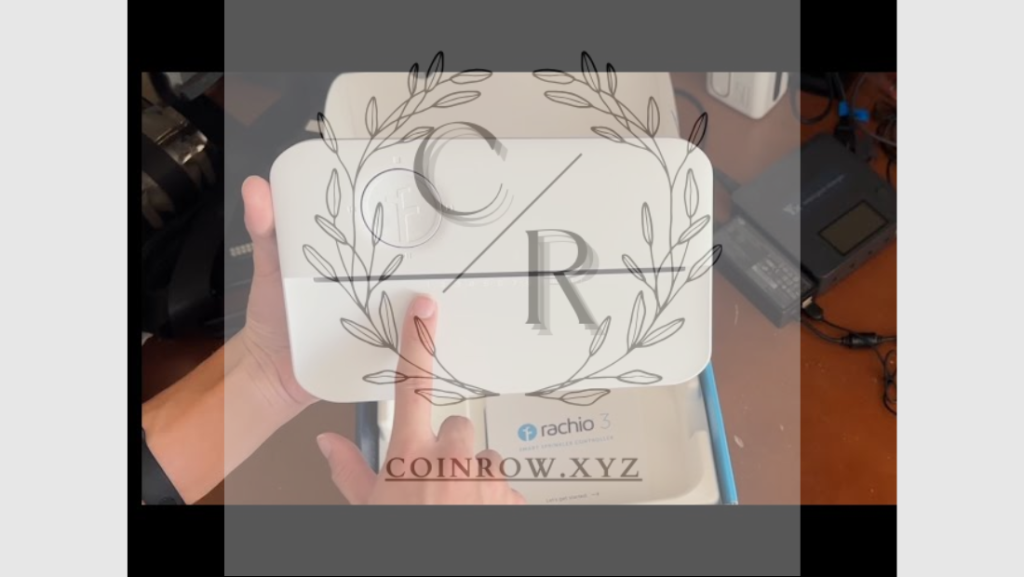
First, remove your Rachio 3 Smart Sprinkler Controller from its packaging. Inside the box, you’ll find:
- The Rachio 3 controller unit itself.
- A mounting bracket (if you plan to mount it on the wall).
- A power adapter.
- A set of wires for connecting to your sprinkler system (in case you’re replacing an existing controller).
- Quick Start Guide (to help with basic installation).
Inspect everything to ensure you have all the components needed for setup.
Step 2: Mount the Rachio 3 Controller
The Rachio 3 can either be mounted on the wall or placed on a shelf or cabinet, depending on where your sprinkler system is located. Here’s how to mount the controller if you prefer that option:
- Select a location near your existing irrigation system. The Rachio 3 should be installed in a location where it’s close to your sprinkler system’s wiring and an electrical outlet.
- Use the mounting bracket and screws to attach the controller to the wall. Ensure the unit is easily accessible and not obstructed.
- Plug in the power adapter into the controller and connect it to a nearby electrical outlet.
Step 3: Disconnect Your Old Controller (if applicable)
If you’re replacing an existing sprinkler controller, you’ll need to disconnect the old system. Take note of the wires connected to the old controller, as you’ll need to connect them to the Rachio 3.
- Turn off your sprinkler system and unplug the old controller from the power source.
- Remove the wires from the old controller, noting which wires are connected to each terminal. If you’re unsure about the wiring, you may want to take a photo of the connections for reference.
- Disconnect the old controller and safely dispose of it if it’s no longer needed.

Step 4: Connect the Wires to the Rachio 3
Now it’s time to connect your sprinkler system’s wiring to the Rachio 3. The Rachio controller uses a simple system of terminal slots where you can insert the wires corresponding to your sprinkler zones.
- Identify the terminal slots on the Rachio 3. These will be labeled for different zones (e.g., Zone 1, Zone 2, etc.), and you’ll match each wire from your existing sprinkler system to the appropriate slot.
- Insert the wires into the corresponding slots. Each wire represents a zone or valve in your sprinkler system, so make sure to insert them correctly. If you’re not sure which wire goes where, refer to the manual or your photo of the old system’s wiring.
- Once all the wires are connected, plug in the power adapter to the Rachio 3 and connect it to an outlet.
Step 5: Download and Install the Rachio App
To control your sprinkler system remotely, you’ll need to use the Rachio app, which is available on both iOS and Android devices.
- Go to the App Store (iOS) or Google Play Store (Android) and search for Rachio.
- Download and install the Rachio app on your smartphone or tablet.
- Open the app and create a Rachio account or log in if you already have one.
Step 6: Connect the Rachio 3 to Wi-Fi
Now that you’ve installed the Rachio 3 and downloaded the app, it’s time to connect the controller to your Wi-Fi network.
- Open the Rachio app and sign in to your account.
- The app will prompt you to set up a new device. Select “Add a Controller” to begin the process.
- Follow the app’s prompts to connect your Rachio 3 to your 2.4GHz Wi-Fi network. You will need to enter your Wi-Fi password for the connection. The Rachio 3 will not work with a 5GHz network, so ensure your router is broadcasting a 2.4GHz network.
- Once connected, the app will confirm the Wi-Fi setup. Your Rachio 3 will now be ready to control.
Step 7: Configure Your Zones and Set Up Your System
After connecting the Rachio 3 to your Wi-Fi, the next step is to configure your zones and set up the irrigation system.
- Map your zones: The app will automatically detect the zones based on the wiring, but you can edit and customize them. You can name each zone (e.g., “Front Lawn,” “Garden Beds”) to help you keep track.
- Set watering schedules: The Rachio app allows you to create personalized watering schedules. You can set each zone to water at different times, durations, and frequencies. You can also use features like weather-based watering and seasonal adjustments.
- Smart Schedules: Rachio will automatically adjust watering based on weather forecasts to avoid watering when it’s raining or excessively hot.
- Set up notifications: The app lets you set up alerts, such as when watering starts or finishes, or if there’s a system error.
Step 8: Test Your System
Once everything is set up, it’s a good idea to test your system to ensure everything is working properly.
- In the app, select “Test” or “Run” to initiate a manual watering session.
- Watch the system to confirm that each zone is watering as expected. If something isn’t working correctly, double-check your wiring and zone configurations in the app.
- You can also manually control each zone through the app to see how the system responds.
Step 9: Enjoy Smart Irrigation
Now that your Rachio 3 Smart Sprinkler Controller is set up, you can enjoy hands-free, efficient irrigation for your lawn and garden. With the Rachio app, you’ll have the ability to:
- Monitor water usage and save money by reducing waste.
- Adjust schedules anytime, from anywhere.
- Get weather-based watering updates that prevent overwatering.
- Use Alexa or Google Assistant for voice control (if enabled).
- Automate the entire irrigation system for a smarter, more sustainable garden.
Troubleshooting Tips
If you run into any issues during setup, here are a few troubleshooting steps to try:
- Check Wi-Fi Connection: Ensure your Rachio 3 is within range of your Wi-Fi router. If needed, move your router closer or consider using a Wi-Fi extender.
- Reboot the Controller: If the Rachio 3 is unresponsive, try rebooting it by unplugging it for 10 seconds and plugging it back in.
- Update Firmware: Make sure your Rachio 3 has the latest firmware version. The app will prompt you if an update is available.
Conclusion
The Rachio 3 Smart Sprinkler Controller is a game-changer when it comes to efficient lawn and garden care. By following this step-by-step guide, you can easily set up your Rachio 3 and take advantage of its many features, including remote control via the app, weather-based scheduling, and zone-specific watering. With just a few taps on your phone, you can ensure your garden gets the perfect amount of water, while saving time, money, and water.
Enjoy the convenience and efficiency of smart watering with your Rachio 3 today!

